


Plesk – Install Let’s Encrypt Plugin
This quick guide will show you how to install and configure the Let’s Encrypt plugin on a Plesk based Linux server.
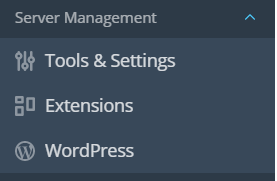
Login to your Plesk server and select Extensions from the menu under server management.
Click on the Extensions Catalog, Select the Let’s Encrypt extension and click “Install”.
![]()
Once the extension gets installed, open the extension name to a list of domains currently on your Plesk server,
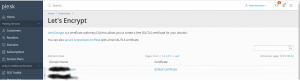
Select the domain, One new window opens and enter an email address and click Install,
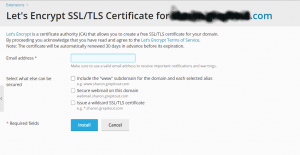
Once installed, you will get a success message “Let’s Encrypt SSL certificate was successfully installed on yourdomain.com.”
Now you check by opening the domain on a browser to see secure Https connection.
Also read :
- How to take the backup of a site in Plesk
- How to adjust the PHP variable in Plesk
- How to enable shell access for a Plesk account
- How to Find spam activity in Plesk (Postfix)
- Identify Spam Activity in Plesk (Qmail) Server
- Enable statistics on all domains in Plesk
If you like the post Understanding top Command and wish to receive more articles from us, please like our FB page: GrepItOut
Your suggestions and feedbacks will encourage us and help to improve further, please feel free to write your comments. For more details on our services, please drop us an E-mail at [email protected]
Add Comment