


Install Jenkins on CentOS
This post helps you to install Jenkins on CentOS server. Jenkins is an open-source Continuous Integration server written in Java. It helps us to achieve an automated CI/CD process.
Install Jenkins
The installation is pretty straightforward. You just need to download the Jenkins official repo and install Jenkins using yum. The steps are given below:
wget -O /etc/yum.repos.d/jenkins.repo https://pkg.jenkins.io/redhat-stable/jenkins.repo
rpm --import https://pkg.jenkins.io/redhat-stable/jenkins.io.key
yum upgrade
yum install epel-release java-11-openjdk-devel
yum install jenkins
systemctl daemon-reload
Start and enable Jenkins service
systemctl start jenkins
systemctl enable jenkins
Open the port 8080 on Firewall
Jenkins uses port 8080, so adjust the firewall using the firewall-cmd.
firewall-cmd --permanent --zone=public --add-port=8080/tcp
firewall-cmd --reload
Unlock Jenkins
After allowing the Jenkins port, access Jenkins instance by browsing to http://<IP_ADDRESS>:8080 (Replace IP_ADDRESS with your server’s IP address). Then you will get an Unlock page like below:
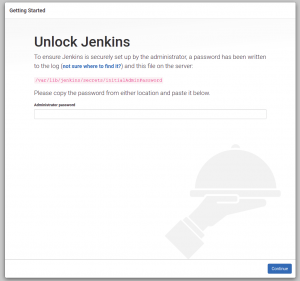
Read the file /var/lib/jenkins/secrets/initialAdminPassword from Jenkins instance and paste the content to Jenkins unlock screen.
[root@jenk ~]# cat /var/lib/jenkins/secrets/initialAdminPassword
91d1a68c1b5f4d1cbb4621c43c62e528
[root@jenk ~]#
Customize Jenkins
On the next page, you will be asked to install the necessary plugins. Please see the picture below:
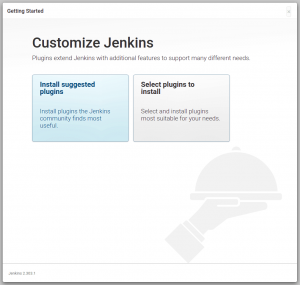
It is recommended to Install suggested plugins. It will install all necessary plugins that need to get the Jenkins work properly. You can always change or customize plugins later.
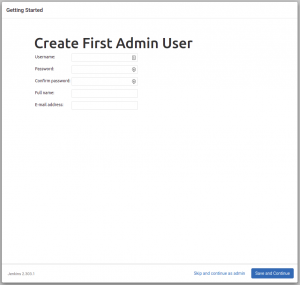
Create Admin User
On the next page, you need to create an admin user. Fill the fields with your desired admin username, password and email ID.
Instance Configuration
Next, you need to set up the Jenkins URL. It will be auto-filled in the respective field.
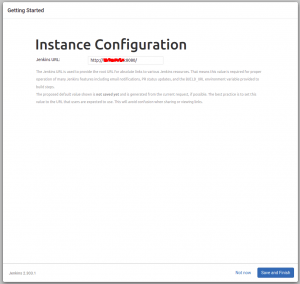
Finally, click on the Start using Jenkins button and complete the installation.
That’s it!
Also Read:
- How to change boot order in CentOS 7 or RHEL 7
- YumRepo Error: All mirror URLs are not using ftp, http[s] or file
- Install Htop on CentOS/RHEL and Ubuntu
- Install GitLab on CentOS 7 and Derivatives
- Install GitLab on CentOS 7 and Derivatives
- Install Zabbix on CentOS 8 and Derivatives
- How to Install Kdenlive Video Editor on Ubuntu
- Install youtube-dl in Ubuntu
- How to Install BleachBit on Ubuntu and Derivatives
- How to install Rambox on Ubuntu and Derivatives
- Install Blender in Ubuntu and its derivatives
- How to install gallery-dl in Ubuntu
- Install and enable sudo command in Debian
- How to Install Kodi on Ubuntu and its Derivatives
- Install FlatPak on Ubuntu and Derivatives
- How to Install DraftSight on Ubuntu and Derivatives
- Install OpenSCAD in Ubuntu, Debian, Fedora and Arch Linux
- How to Install OpenShot on Ubuntu and Derivatives
- How to Install OpenVPN on CentOS and Derivatives
- How to install VidCutter on Ubuntu and Derivatives
- How to Install Sublime Text on Ubuntu and CentOS
- How to Install Spotify on Ubuntu and Derivatives
- Install Zabbix on CentOS 8 and Derivatives
If you like this post and wish to receive more articles from us, please like our FB page: Grepitout
Your suggestions and feedbacks will encourage us and help to improve further, please feel free to write your comments.
For more details on our services, please drop us an E-mail at [email protected]


Add Comment