


How to create a virtual server in SolusVM
This post explains how to create a virtual server in the SolusVM control panel. Follow the steps given below.
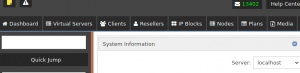
1: Log in to the SolusVM panel.
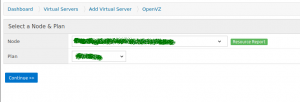
2: Select the Add Virtual Server option under the Virtual Servers tab.
3: Different virtualization options are listed in the next window. Select the type of virtualization you need.

4: Select the host node and the desired plan for your virtual server. Click Continue.
5: Choose the Client by clicking on the dropdown next to the Client tab.
6: You can provide the desired hostname for the virtual server.
7: Click on the dropdown next to the Operating System option and choose your OS.
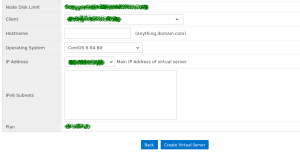
8: Now click on Create Virtual Server to complete the process.
Your new virtual server has been created!
Also read:
- How to change client account password in SolusVM admin panel
- How to update SolusVM panel
- How to verify cPanel license
- Enable DKIM/SPF in WHM/Cpanel
- Enable DKIM and SPF for all accounts in cPanel
- Maiman not starting in cPanel server
- How to Install Python 3 in cPanel Server
If you like the post Understanding top Command and wish to receive more articles from us, please like our FB page: GrepItOut
Your suggestions and feedbacks will encourage us and help to improve further, please feel free to write your comments. For more details on our services, please drop us an E-mail at [email protected]


Add Comment